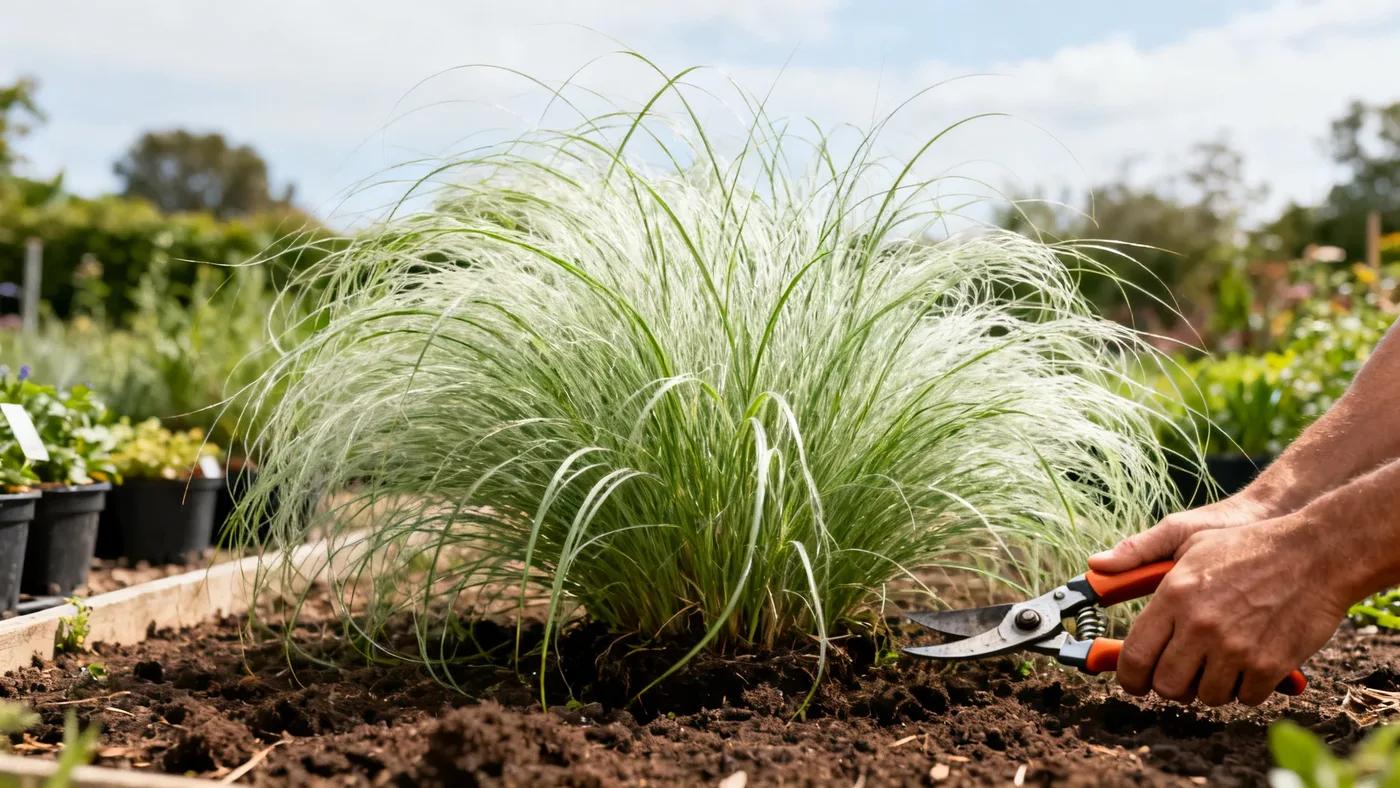
When and How to Cut Back White Cloud Muhly Grass
White Cloud Muhly Grass earns its winter beauty. The white, cloud-like seed plumes and bronze-tan foliage that emerge in fall persist through the coldest months, providing texture and movement when most of the garden has gone quiet. But to keep your clump vigorous and ready for spring growth, cutting back White Cloud Muhly Grass at the right time matters as much as the planting itself.
The good news: this is a straightforward task that takes an afternoon and requires only basic tools. The pruning needs are minimal. Once you understand the timing and basic technique, you can cut back muhly grass with confidence.
When to Cut Back White Cloud Muhly Grass
Timing is the single most important factor. Cut back too early, and you risk new spring growth emerging before the coldest weather passes, exposing tender shoots to frost damage. Cut back too late, and you may damage new growth that has already begun to emerge.
The window is tight but forgiving: late winter, specifically February through early March, before new spring growth emerges. The exact timing depends on your growing zone. If you are in USDA zones 6 to 9, aim for the earliest warm day in late February or wait until the soil warms slightly in early March. The foliage may look shabby by then, but the plant is still dormant or just beginning to stir.
How do you know if growth is starting? Look at the base of the clump. If you see pale green shoots pushing up from the crown, you are already late but not lost; cut carefully around the emerging growth rather than delaying further.
One key principle: no pruning is needed during the growing season. The plant handles its own tidying as it grows. Cutting during summer or fall risks removing flowers or disrupting the seasonal beauty that makes White Cloud Muhly Grass worth growing. Your only pruning task is this single, annual late-winter cut.
Materials You Will Need
The equipment list is short. Quality matters more than quantity.
- Pruning shears or loppers: Hand pruners work for small clumps under 2 feet wide. For mature clumps 2 to 3 feet wide or wider, use loppers to reduce hand fatigue and cut through stubborn stems more cleanly.
- Hedge shears: Optional but useful for larger plantings or if you prefer a faster, more uniform cut across the top of the clump.
- Heavy gloves: The fine blades are wiry and can scratch skin. Good gloves protect your forearms as you work.
- Safety glasses: Flying debris from cut stems can catch you off guard. Inexpensive safety glasses take five seconds to put on and save your eyes.
- Trash bags or a tarp: Dried foliage and plumes are lightweight but voluminous. Collect cuttings on a tarp so you can bundle them easily, or use large bags.
- Rake (optional): A leaf rake helps tidy the base of the clump after cutting, removing loose debris that collects inside.
Step-by-Step Cutting Instructions
Step 1: Choose a calm day. Wind makes the wiry, lightweight stems fly in all directions and increases cleanup time. A still day in late February or early March is ideal. If rain threatens, wait; wet foliage is harder to cut and tangles around tool blades.
Step 2: Position yourself and establish your cutting height. Stand to one side of the clump, not directly over it, so cut debris falls away from your face and body. Identify the base of the clump. You are aiming to cut to a height of just a few inches above the ground, typically 2 to 4 inches. Taller cuts leave stubble; cutting closer to the soil risks hitting dormant buds. A good target is to leave a 3-inch stubble line around the clump.
Step 3: Cut working from the outside in. Start at one edge of the clump and work your way around the perimeter, cutting stem bundles one section at a time. This approach keeps you organized and lets you maintain a consistent cutting height. For hand pruners, cut 8 to 12 stems at a time. For loppers or hedge shears, work in broader swaths of 12 to 18 inches.
Step 4: Angle your cuts downward. Angle cutting shears or the blades at roughly 45 degrees, sloping toward the center of the clump. This diverts water away from the crown and reduces the risk of rot in wet spring weather. Make clean cuts; ragged tears attract disease.
Step 5: Don't forget the interior. Once the outer perimeter is cut, reach into the center and cut any tall stems that tower above the base. The goal is a uniform, low stubble across the entire clump, not a domed top.
Step 6: Remove all cuttings. Dried stems are brittle and break into fragments as you work. Collect them on a tarp or in bags. Do not leave stems mixed in with the base of the clump; they trap moisture and inhibit spring growth. A quick rake through the base catches loose debris and smooths the crown.
Tips for Cutting Back Muhly Grass Successfully
- Sharpen your tools first. Dull blades crush stems instead of cutting them cleanly. A crushed stem takes longer to callus over and is more prone to rot or disease. Five minutes with a sharpening stone pays dividends.
- Cut from a chair if you have a large clump. Sitting down while cutting gives you better leverage, a clearer view of the cutting line, and less back strain. Some nursery growers do this routinely.
- Save the cuttings if you compost. Dried muhly foliage breaks down readily and adds organic matter. Avoid the seed heads if you worry about unwanted muhly grass volunteering in your compost pile; leave them in a bag for disposal.
- Water the base after cutting. A light soaking once the cut is done helps settle the soil and supports the dormant buds. In regions with spring rain, this is less critical, but in drier zones, a watering ensures the plant starts strong.
- Expect regrowth to emerge within 2 to 4 weeks. New growth is pale green and delicate at first. Avoid stepping on or disturbing the base during this period.
Common Mistakes to Avoid
Cutting too early (December or January). Early cutting exposes dormant buds to freezing temperatures and sudden thaw cycles, which can damage the crown. Late February onwards is safer.
Cutting too low. Shearing the clump to soil level risks severing dormant buds or exposing the crown to rot. Aim for 2 to 4 inches of stubble and no lower.
Leaving old cuttings in the clump. Debris trapped at the base creates a damp microclimate that invites rust or crown rot, especially in humid springs. Remove all cut material.
Pruning during the growing season. Cutting in summer removes flowering stems and disrupts the plant. It also signals the plant to expend energy on regrowth instead of building reserve roots for next year.
Over-fertilizing after cutting. White Cloud Muhly Grass prefers lean soil. A heavy fertilizer dose in spring can trigger soft, floppy growth that flops over by mid-summer. Skip fertilizer entirely or apply only a light, balanced formula if the plant shows clear signs of nutrient deficiency.
What to Expect After Cutting Back White Cloud Muhly Grass
The clump will look bare and stubby for 2 to 3 weeks. Do not be alarmed. By mid-spring, pale green shoots will emerge from the base and gradually thicken and darken. Over the next 2 to 3 months, the clump will fill in and resume its normal arching habit.
By late summer and early fall, the plant will be approaching its mature height of 3 to 4 feet, including the bloom plumes. Depending on your growing zone and the year's weather, the white seed plumes may appear as early as September, though October and November are more typical. The foliage will transition from green to bronze and tan tones, creating that signature winter interest again.
If the clump seems slower to fill in than expected, check sunlight. White Cloud Muhly Grass blooms reliably only in full sun and grows more densely with at least 6 to 8 hours of direct light daily. Part-shade plants may recover more slowly and produce fewer plumes.
Quick Reference: Cutting Back White Cloud Muhly Grass
| Task | Timing / Details |
|---|---|
| Annual cut-back date | Late February through early March (before new growth emerges) |
| Growing zones | USDA zones 6-9 |
| Cutting height | 2 to 4 inches above soil (3-inch stubble is ideal) |
| Tools needed | Hand pruners, loppers, or hedge shears; gloves; safety glasses |
| Mature clump size | 2 to 4 feet wide; 3 to 4 feet tall including plumes |
| Regrowth timeline | New shoots visible in 2-4 weeks; mature height by late summer |
| Pruning during growing season | Not recommended; only prune in late winter |
| Expected bloom return | September to November (timing varies by zone) |
| Post-cutting care | Remove all cuttings; light watering optional; skip heavy fertilizer |
With one tidy annual pruning, your White Cloud Muhly Grass will return reliably each year with the same vigor and the same cloud-like white plumes that make it worth the small effort. Learn more about caring for this plant year-round in our complete White Cloud Muhly Grass care guide.